For those that have used weebly before, we can agree about how easy it is to use. From choosing a design style (theme) to adding your contents, to publishing your website, weebly provides an awesome platform to setup, build and launch your website in minutes.
As easy as anything might be, if you’ve never used it before you might find it difficult on first attempt. If you are thinking about building a website using weebly but unsure how to begin or what difficulties you might encounter along the way, don’t worry about a thing, this tutorial will guide you step by step through the process of setting up and building your first weebly website.
In this tutorial, we’ll look at:
- Weebly account types and most suitable for you
- Creating a weebly user account, Site? Blog? or Store?
- Choosing a preliminary theme
- Within weebly editor
- Creating your first page
- Adding your first sets of contents
- Choosing the right font
- Preliminary site publishing (preview)
- Adding a domain
- Publishing your website
WEEBLY ACCOUNT TYPES. WHICH IS SUITABLE FOR YOU?
Most people might not know this, but weebly allows you to build more than “individual websites”. Weebly has two account types, USER account and DESIGNER account. Be honest, you have probably used weebly for years now but you had no idea they had more than one account type.
What’s the difference between the two?
The user account is probably what majority of us are used to. With user account, you will be able to create up to 10 websites within that account. These are usually websites owned and managed by individuals. You can create user account at www.weebly.com.
Designer account is used mostly by web designers, freelancers, companies, etc. basically anyone with the need for more than 10 websites who doesn’t want to have multiple weebly accounts. Just keep everything in one place. Designer account are mostly used by web design firms to build and manage their clients websites. You can create a designer account at here.
Now, you just have to decide which is best for you. Do you have a need for more than 10 websites? Are you a web designer with the need to create and manage your clients websites? You can use the designer platform. Or do you need a one, two, three … up to 10 websites? then the user account is perfect for you.
2. Creating a weebly user account, site? blog? or store?
After signing up for a user account, weebly will probably present you with three options, do you need a: SITE, BLOG or STORE? I personally have never choose any other option other than “SITE”, still I really don’t see much difference because within the weebly editor, you can have all these three options within one website.
I believe the reason for these options is for weebly to present you with themes that matches your purpose because after choosing one of these options, you will be presented with a few preliminary themes to get started.
Therefore, you don’t really need to sweat here trying to decide which or wondering why you can’t have it all because the truth is, YOU CAN HAVE IT ALL or simply get rid of what you don’t need once you are in the editor.
3. Choosing a preliminary theme
That’s right! After choosing either of the three options presented before you (i.e SITE, BLOG or STORE), you will be asked to choose a preliminary theme to get started with. Don’t worry that the themes are not exactly what you want, those are just to get you into the editor.
Once you are inside the weebly editor, you will have the option to brows a collection of weebly themes to find exactly what works best for you. Once you’ve made a selection, you will have the option to further style the theme with different colors, fonts, images, etc.
And DON’T forget that if available themes don’t meet your desire, there’s always ROOMY THEMES to download and use on your website.
4. Within weebly editor
At first sight, the editor will look well organized and simple, that’s because it is. Within the editor, you will be able to add pages to your website and build its contents.
If you started with a theme you don’t want to keep, your first order of business should be to choose a desirable theme. To do this, click “THEME”, on the left click “Change Theme”. You will be presented with a collection of weebly themes, you can try on as many as you want until you find the one you like.
After choosing a theme you want to keep, you might want to play around with the available colors (theme colors), change the font properties, etc. These also can be done within the THEME panel.
Always remember that when it comes to customizing the theme, the theme panel is a place to look. If you have knowledge of coding, then you might want to edit the theme code to further customize it, also located within the THEME panel.
5. Creating your first page
Of course once you get into the editor you will realize that your website already has a few pages, usually something like: HOME, ABOUT, CONTACT”. Naturally, you might want to go ahead and build on the already available pages and add more if needed. But in some cases, you might not want any of those page names or you might want home to say “WELCOME”, and so on…
All you need to do in such case is to click “PAGES” click on the page you want to modify, then change the name.
To create a new page, click “PAGES’, click the plus icon (+), select the type of page you want, give the page a name then click “SAVE”.
Page types, what’s the difference?
When creating or attempting to create a new page, you will be presented with different page types, such as: STANDARD PAGE, BLOG PAGE, STORE PAGE, EXTERNAL PAGE.
The first three page types are basically self explanatory so I will just go on and explain the external page type. The external page simply allows you to create a link to an external website or file. This link is displayed within your website menu alongside other menu items. This is useful if you have another website that you want to link to, credit, etc. You can also link to a file you have hosted elsewhere or within your weebly website.
Header type, what is it for?
Also, when creating a page, or each time you look at the page panel, you have probably seen “HEADER TYPE” with drop-down options, right? Those options are not for fancy, each option carries the design and options of each layout available within the theme.
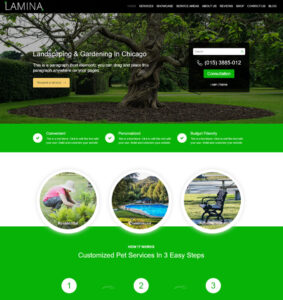
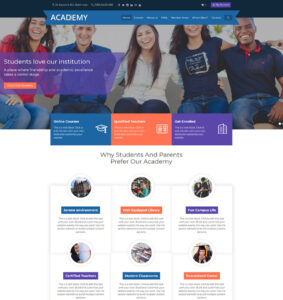
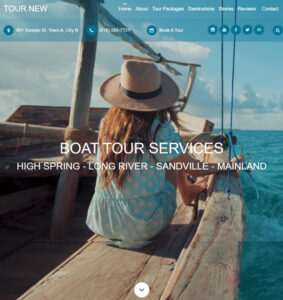
For example: TALL HEADER will give you a page layout with tall banner image, SHORT HEADER will give you a page layout with banner image shorter than TALL HEADER, NO HEADER has no banner image. Simply choose a desirable header type by clicking the drop-down icon. Roomy themes for example has as much as 30+ header types to choose from, each carrying incredible design features such as testimonials, sliders, portfolio, posts, etc..
6. Adding your first set of contents
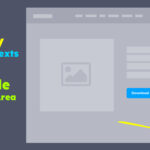
Now, you are ready to add some contents to your website. If you are not already on the “BUILD” panel, click “BUILD” to get there. Looking at the left of the screen, you will see those small boxes with texts and icons, (i.e TITLE, TEXT, IMAGE, GALLERY, etc.). Those are called ELEMENTS, and they are basically what you need to add different content types to your website.
Click on any of them, hold and drag it to the main content area. You should see a guide (dotted line) showing you where to drop it.
After dropping the element, there should be an instruction, for example: CLICK TO EDIT TEXTS (if a text element), CLICK TO UPLOAD IMAGE (if an image element), etc. Follow the instructions. If no instructions, simply click on the element you dropped, follow whatever instruction comes next.
Now that you know how to add a content element to your pages, you can go ahead and populate your pages with different contents. Feel free to play around with each content element, you are not going to break anything, I promise!
You can always delete any element you don’t want by clicking the “times” (cancel) icon that appears on rollover.
7. Choosing the right font
I know I already said something about changing fonts when I was talking about THEME options, but the truth is that you can never truly know what works best for you until you have contents to test them on.
Now that you have added some texts to your website, you can now try different fonts. Click THEME, click Change Fonts, click the element you want the font applied to. For example, if you want to change the font of PARAGRAPH TEXTS, then you click Paragraph Texts, if you want to change the font of MENU ITEMS, then you click Navigation Menu, choose the font family from the drop-down menu, choose the size, the color, etc.
You will see the changes on your contents as you make them.
8. Preliminary site publishing
At this point you might want to have a look at what you’ve done so far. If your site is on a user account (weebly.com) then you can publish it with a weebly sub domain and view what you have done so far. If your site is on a designer platform, then you can preview it.
If you published it to have a quick view, but now you want to unpublish it until you are ready to launch, there’s a way to do that. Click SETTINGS, scroll all the way down to “Unpublish” click the unpublish icon and your site will be unpublished.
9. Adding a domain name
I’m not going to write much about this because weebly already has excellent and very informative articles on how to use a domain on your website. I will simply link to that article with the hope that you will find it as useful as I did. Click here for the article. But if you don’t want to use your own domain, then you are welcome to use weebly sub domain. Click here to see how.
10. Publish your website, go live!
Whether on your own domain or weebly sub domain, you are now ready to launch your website. Simply click publish to go live.
I know by now you are feeling very proud of yourself seeing what you’ve been able to do? You truly deserve a smile. Well, I could say I had something to do with your success, but that’s me probably just looking for attention. You’ve done incredibly well. You deserve all the credits.
Well, congratulations! I wish you the very best. If you have any questions or comments, feel free to use the comments section below.
